
Adobe Photoshop is clearly a world-class choice for photo editors and graphic designers, and other professionalists. It consists of features that give a smooth and fancy touch to your image or video. On one hand where Adobe Photoshop gives you intense photo editing features that transpose your image entirely. On the other hand, beginners may struggle to understand minor tasks, such as how to zoom in photoshop? The reason being, when you view an image or video in Adobe Photoshop PC, you will see multiple features at a time. Thus, it can be not very clear and challenging to catch standard features like zoom.
Thus, to help you begin with, we bring a small guide on How to zoom in photoshop? Before we go ahead, it is crucial to note that this guide only applies to Adobe Photoshop. In the event, you are using a different photo editor or designer program, request a tutorial in the comment section. Let’s get started:
Table of Contents
How to zoom in photoshop?
Have you ever wondered how challenging it’d be for designers to focus on the keen details of an image, graphic, or video if the zoom option wasn’t there in the first place? Sounds terrifying, right? Well! Thanks to “zoom in photoshop”, video editors can erase or maintain the micro-level details in any image or video. Not only this, but the zoom option is rather the centre of attraction when it comes to creating 3D-based graphics and whatnot. So, let’s take a glance at different ways to zoom in or zoom out in photoshop. Good luck!
Guide 1: Use zoom in or zoom out direct tool
When you open any image or video in a photo editing App like Adobe, you will find yourself surrounded by over 50 features. Now, follow the steps given below to simply zoom in or zoom out an image or video without any particulars.
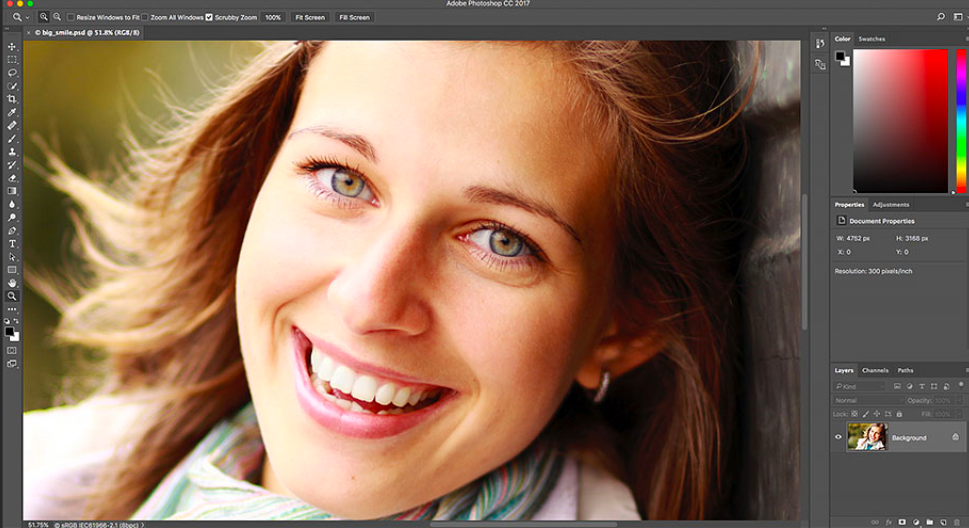
- Open an image or video in Adobe Photoshop.
- Now, observe the “vertically placed menu at the left side of the screen.”
- Do you see a “magnifying glass icon?”
- If yes, tap on it.
- This will take the image into zooming mode.
- Now, place the cursor over the part of the image that you want to zoom.
- Tap on the trackpad.
- In this way, the image will be zoomed.
Here’s what you must know about the “zoom” feature in photoshop:
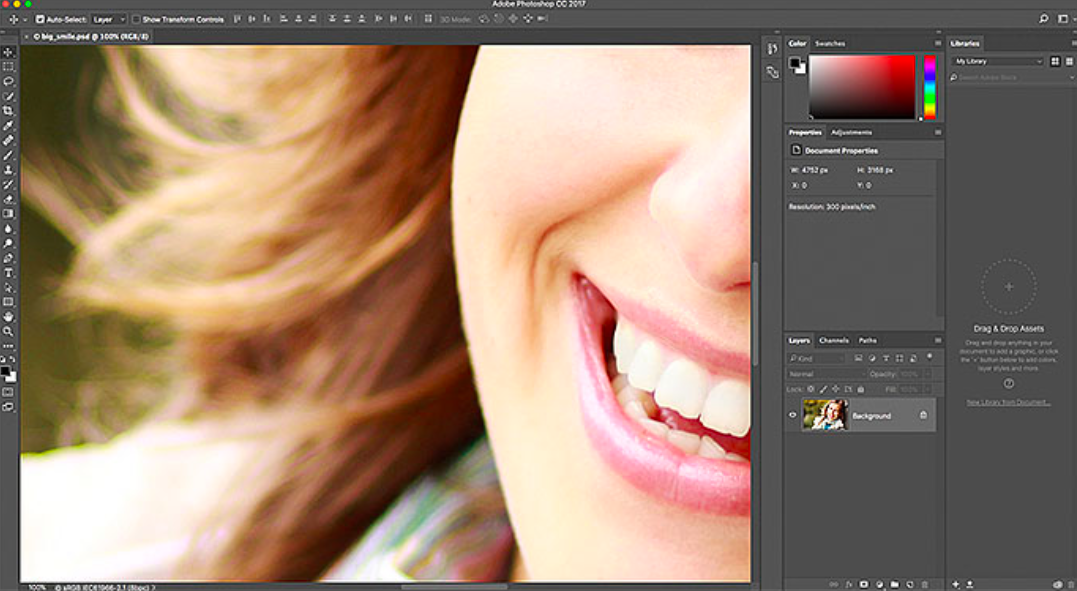
- It allows you to zoom the image up to 3200%.
- If you are working with HDR or 3D images, you may need to zoom in more than 100% to edit micro-level details.
- When you zoom into an image by 3200%, the image’s quality is 1 megapixel only. Hence, there’s a 99.99% chance that you will have an empty or in a comprehensive view.
- For a proper view process while zooming in, zoom only at 100%. In this way, you will be function to understand the image accurately.
Note:
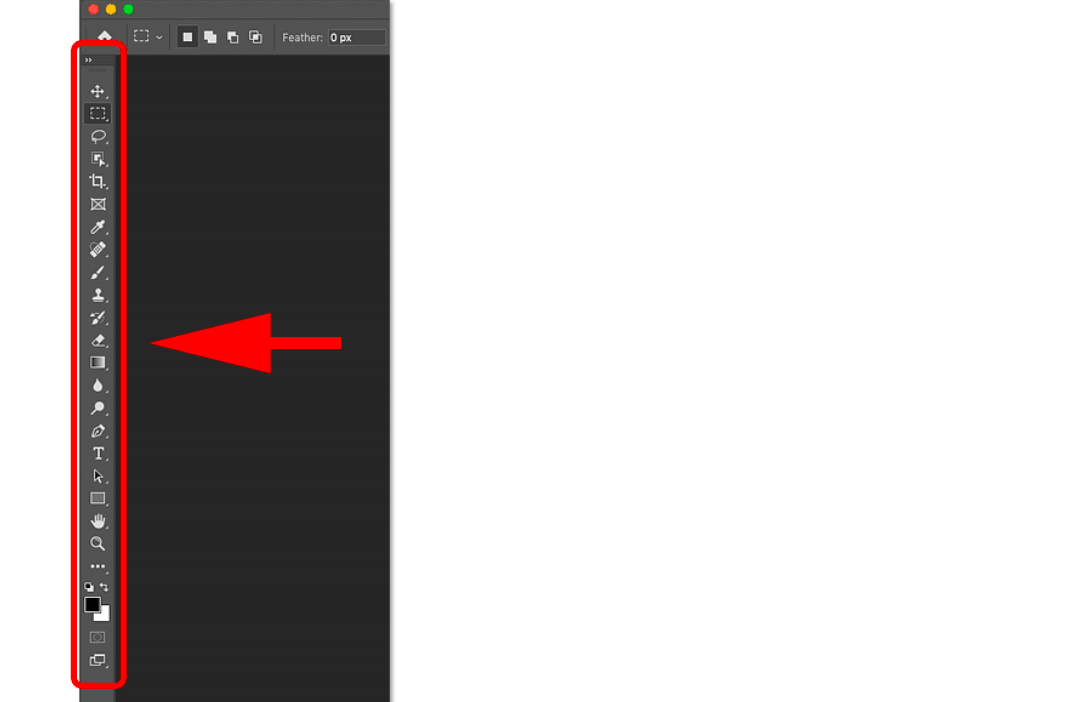
Now, in some cases, editors find themselves unable to access or find the left toolbar in Adobe Photoshop, especially if you are a beginner. The reason being, readjustment of tools by the user may create a chaotic mess over the screen, and it becomes difficult to catch attention to the tool you need. It is similar to when smartphones were first introduced, and it wasn’t easy to catch the alphabets while typing a message. Because the order was nothing like we learned.
Thus, if you can’t find the left toolbar, here’s how to view it?
How do I get my left toolbar in photoshop?
- To begin with, go to the “Window” menu.
- Further, tap on the “show tools.”
- Drag and drop the toolbar to the left side.
If this does not work, reset the Adobe Photoshop default setting. To do so:
- Use shortcut CTRL +K.
- Or, click on the “Reset preferences on Quit.”
- Now, in the general tab, tap OK to confirm.
- At last, restart the program.
Guide 2: How to zoom in photoshop using the navigator panel?
To begin with, the Navigator panel or navigation tool in Photoshop allows the user to fit or rotate or view an image in multiple ways. Overscrolls is also a unique and newly introduced feature in Adobe p. Using this feature when a user zooms in or zooms out an image or video. He holds the freedom to scroll it to an end.
It is also crucial that the app permits to the creation or readjust a highlighted and outlined rectangular navigation box called proxy view area using the navigator tool. It allows the user to send commands to the software about which area is required to be zoomed in.
Here’s how to zoom in photoshop using the navigator panel:
- First of all, go to the Window Menu.
- Then, select the navigator option from the menu.
- Now, reset the magnification. (magnification means the percentage at which you want to zoom in or zoom out the image/video).
- To do so, in the text box, type the magnification number. For example, 50%. This will allow zooming into the image by 50%.
- If you do not know the accurate magnification value, you can simply use the “zoom slider” to zoom in or out.
- Apart from this, it is also crucial to note that the image will zoom in or out of the proxy view area.
How to change the proxy view area?
- Place the cursor over the proxy view area and drag it to the image thumbnail.
- Or, simply tap on the image’s part over which you want to place the proxy view area.
- Or, you can also readjust the size of the proxy view area. Shortcut key: Control + Drag. For macOS users, command + Drag will do.
Note: A “panel menu” button is also available at the Navigator panel dialogue box’s right end. You can opt to change the colour or outline of the proxy view area from here. Remember, the navigator panel allows you to zoom into a single part of the photo. Thus, you want to avoid this option if you are in a hurry because it requires setting a proxy view area repeatedly.
Finally, a zoom-in button is also available in the navigator panel at the right side of the zoom slider. Use it if your trackpad is not working.
Guide 3: How to zoom in photoshop with a keyboard?
In order to temporarily zoom in on an image using a keyboard, here’s a shortcut key for you: H key + long-press on the mouse/trackpad. However, this is not a well-fit method because when you release the keys, the photo goes back to its initial pixels.
What are the ideal zoom tool preferences for easy functionality?
For the most part, Adobe Photoshop offers a bunch of micro-level features that allow its users to zoom in or zoom out an image in multiple ways. For example, navigator-based zoom, continuous zoom, 100% image display, and specific area zoom with magnification.
Hence, when there are so many zoom features to explore, it can be rather challenging for users to figure out how to set up zoom preferences. Here’s a guide for your reference:
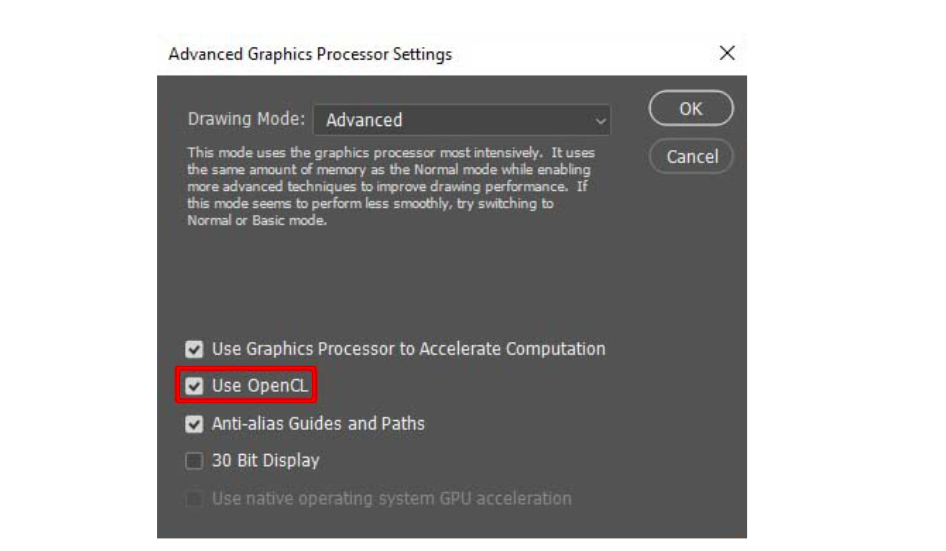
Note: for accessing general zoom preferences, your Adobe photoshop software and operating program must support OpenGL. OpenGL stands for Open Graphics Library, which assures support towards cross-platform API interface, language, and vector graphics.
Here’s how to set up zoom tool preferences:
- Go to the Edit Menu.
- Select preferences option.
- Go to the “performance in windows” or photoshop.
On the other hand, for macOS, go to the photoshop menu. Then, tap on the preferences option. And then, click on the performance option.
Now, you will see four different options. Select any one option as per your zooming requirement:
- Animated zoom:
It permits unstopped zooming using a long hold on the hand tool.
- Zoom resizes windows:
It allows you to zoom into an image and resizes windows according to it.
- Zoom with scroll wheel or mouse:
Use a scroll wheel on the mouse to zoom in or zoom out. It is the easiest way to zoom in in photoshop.
- Zoom clicked point to centre:
Meaning, when you tap on an image’s central point, it automatically zooms in (temporarily).
Interesting Facts about Zoom in Photoshop
Up until now, smartphones were the basic source of photo editing for non-professionals. To be honest, using Adobe Photoshop for the first time remains a big deal. There are multiple features that can do wonders to your image or video. But, it can also be confusing for the first-time user to understand how it works? So, here are some facts you must know about the zooming feature in photoshop:
Fact 1:
- Adobe Photoshop allows zooming in on an image or video at 3200%.
- Now, it does not mean the image’s pixel quality can be changed.
- For example, if you zoom in to 3200%, the pixel quality will be 1.
Fact 2:
- Zooming in photoshop does not crop your photo.
- For example, you cannot zoom in > crop zoomed part.
- Instead, you can crop an image and then zoom it.
FAQ:
1. Q: What is Photoshop?
A. Adobe Photoshop is a powerful image editing software used for a wide range of tasks, including: Photo editing and manipulation, Graphic design and Web design.
2. Q: Is Photoshop easy to learn?
A. Photoshop can be challenging for beginners due to its vast features and tools. However, there are numerous resources available to help you learn, including:
Adobe’s official tutorials and documentation.
Online courses and tutorials from various platforms like Skillshare and Udemy.
3. Q: What are some of the essential tools in Photoshop?
A. Some of Photoshop’s most commonly used tools are Selection, Adjustment, and Layer tools.
4. Q: What are some alternatives to Photoshop?
A. Some popular options are GIMP, Affinity Photo and Canva.
Epilogue
Adobe photoshop is yet again the best-featured editing software available. For more tutorials, you can leave comments. Thank you for reading, good luck!


