
When it comes to digital photography in 2021, everyone has become an expert. With multiple free and premium photoshop mobile and web applications, one can do wonders to his picture like never before! To be honest, a 10 step guide is worth it to follow when you can change your photo as you want. Sometimes, photos may not capture the exact color of your outfit or any other object in the picture. But, thanks to photoshop, you can rectify it with our simple guide on how to change color in photoshop.
So, without any further ado, let be our own photoshop color expert. Our guide includes different (yet, prominent) photoshop apps. Hence, you can pick a method that fits you best. For any particular photoshop application guide, you can connect with us in the comments section.
Table of Contents
How to change color in Adobe Photoshop?
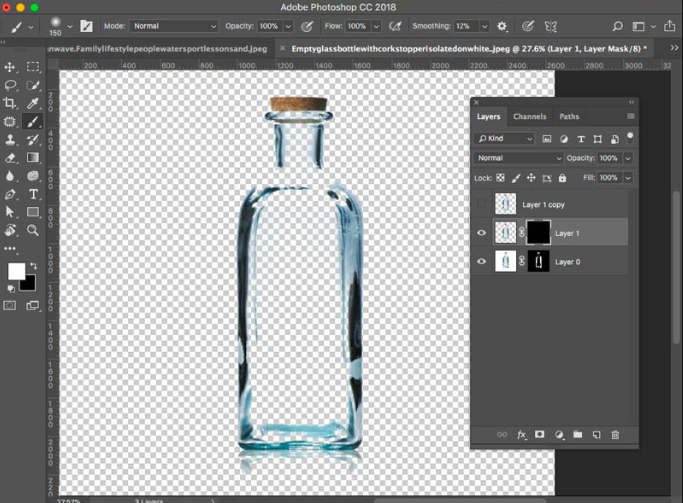
Adobe Photoshop software has been the first choice forever among professional Photoshoppers. The reason being, it creates a perfect color match. Also, it supports contrast color abilities for best quality picture experience. Following is a concise guide on how to change color in photoshop using Adobe Ps. let’s take a glance:
- First of all, select the object for which you want to change the color.
- To do so, go to the “Object Selection tool” which you can directly find in the toolbar.
- A draggable rectangle will appear on the screen.
- Place this rectangle over the object.
- It will fit the edges of the object automatically.
- Now, go to the “Layer panel.”
- Select the “Create New Group” alternative.
- Further, click on the “Add Layer Mask” option.
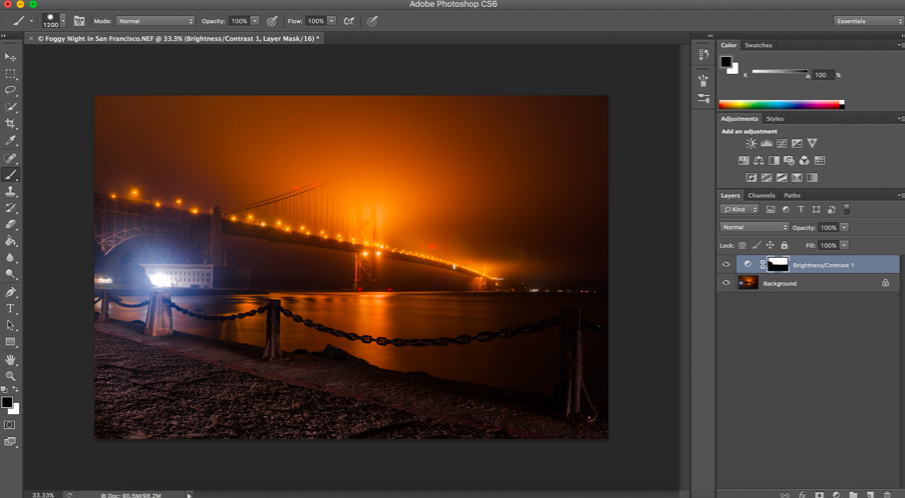
Now, a layer mask will develop. This will allow you to influence the appearance of multiple layers via a single click. Thus, making a process much easier for you.
STEPS:
- Go to the “Layer panel” again.
- Tap on the “Create New fill or adjustment layer.”
- In the next step, select a solid color for the masked object.
- Click on the “OK” button.
Now, you can review that the object color has been successfully changed. But wait! There are a few steps more to give your object a blended appearance.
- Go to the layer panel.
- Select the “blending modes menu” option.
- Further, go to the color blending mode.
- By doing so, you can now adjust the hue and saturation of the selected object.
- Similarly, to adjust the brightness, go to the properties panel option.
Note: Hue, Saturation, and brightness are the three most significant elements when it comes to changing color in photoshop. If your picture does not appear appealing after changing color, it may be because you avoid adjusting the above three factors as per the picture’s mood.
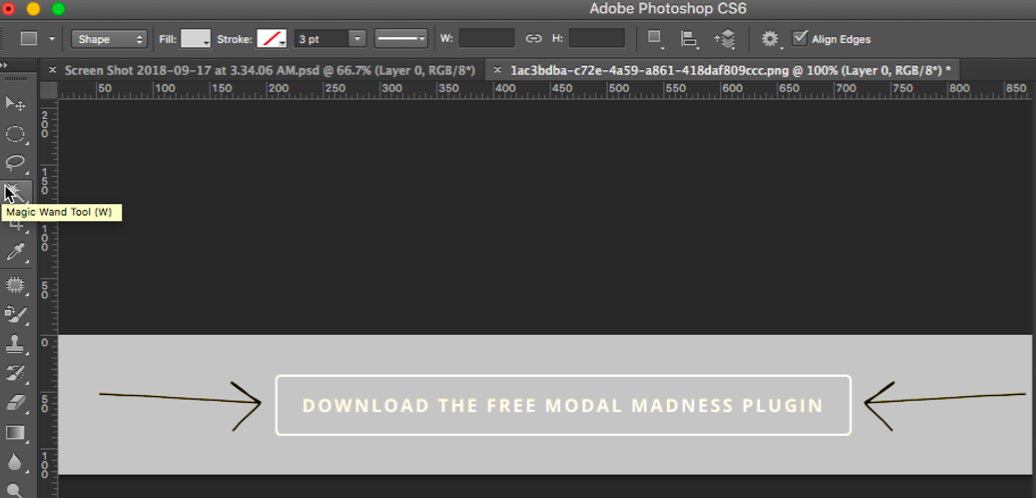
How to change color using a magic wand?
When it comes to color replacement in photoshop, you may often lookout for shortcuts. The magic wand is yet another prominent feature in numerous photoshop software that allows users to replace the color of an object without much stress. Here’s how to do it:
- Go to the “Magic Wand” tool.
- This will allow you to select an object directly.
- You can also create layers manually to select a specific part of an object.
- Select the “Image” option from the toolbar.
- Click on the “Adjustments” option.
- Then, tap on the “Replace Color.”
- Now, the replace color dialogue box will ask you to add a color that you want to replace.
- More often, the software automatically picks the color of the selected object.
- If not, you can use an eyedropper to collect and drop the exact color.
- Now, go to the hue/saturation option in the layer panel.
- Use the “slider (tool)” to change the hue and saturation level.
- Tap on the OK button.
- Use CTRL+C and CTRL+V to copy-paste the final results into another layer for further use.
Note: In the event that you are not self-assured of which color looks fantastic on the selected object. You can create different layers to create different final outcomes and pick one later.
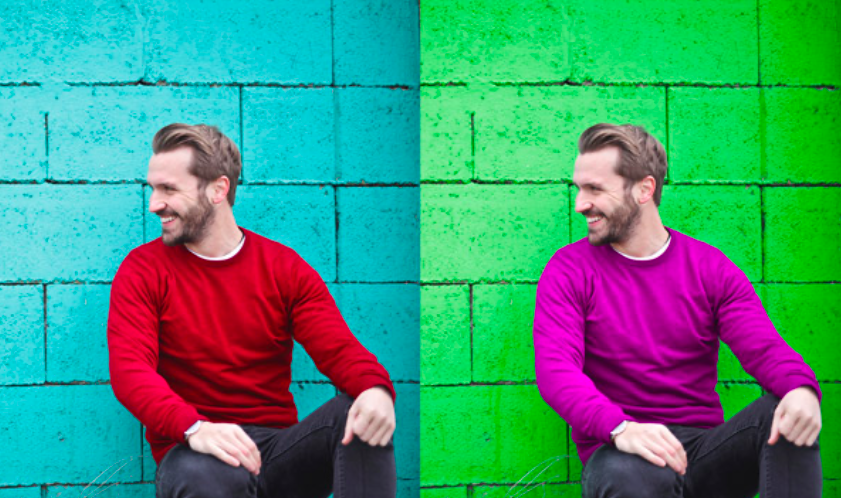
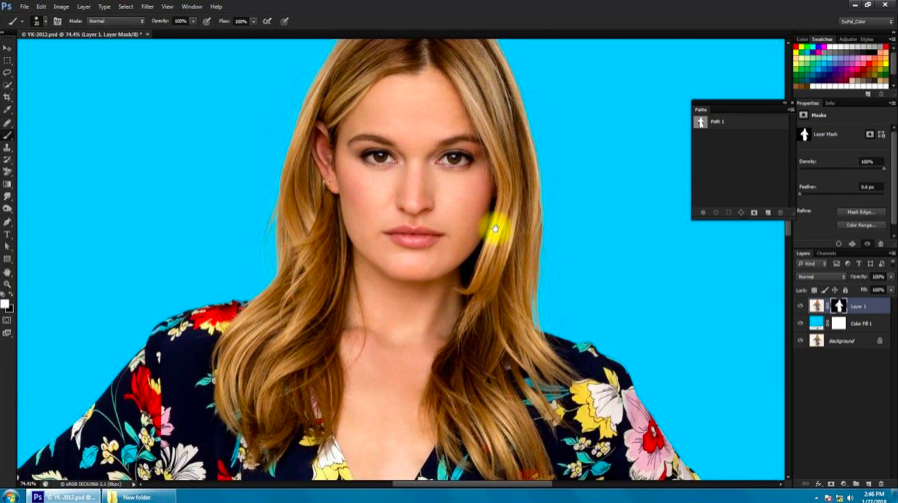
How to change background color?
It is often exciting when you start to learn about complicated tricks in the context of photoshop. However, have you ever reliably change the background color in photoshop? Well! High-end and authentic colors in the background can give your photo an appealing outlook. Well! People avoid changing background color because of long-term layer selection and masking process.
But don’t worry! We have an easy way out for you:
- First of all, go to the Layers panel.
- Create a hue adjustment layer.
- It will allow you to pick a color (that you want to adjust or replace).
- Now, go to the “properties panel.”
- Do you see a finger icon? Click on it.
- In the preset panel, select the color of the existing background.
- For example, if the background is “Red”, select red color.
- Sliders will appear below.
- You will be able to see three adjustments: Hue, saturation, and lightness.
- Use sliders to adjust or change the color of the background.
- Once the color is changed, and you are satisfied with it.
- Go back and save it to your gallery.
How to change the gradient color in photoshop? How to create overlays?
To begin with, gradient colors give a fantastic appearance to your picture. Above all, by creating overlays, you can help your picture look classically edited with a smooth texture and overlaying background. How to do it? Well! It’s easy, let’s take a glance:
- First of all, go to the “Gradient panel” in the toolbar.
- Select a gradient and drag and drop it onto the image you want to photoshop.
- Now, switch to the “layer panel.” click on the “color blend mode” option.
- Drop down the opacity of the gradient to low. In this way, the image in the background will be visible.
- Right-click and go to the “gradient map.”
- Now, pick a gradient that you have selected before.
- Again, go to the color blend mode in the layer panel.
- Here, tick on the “reverse” option below.
- Once again, lower the opacity of the gradient to see how two gradient overlays appear.
- If you want to add more gradient overlays, repeat the process.
- Tip: don’t forget to lower the opacity.
How to change the color of the liquid?
Do you know? People generally get very stunned when a photoshop expert changes the color of the liquid in seconds. It is akin to digital magic. But is it? Well! To begin with, changing the color of liquid using photoshop is very simple, yet astonishing. Do you want to try it out? Check the small guide given below:
- Go to the image or add the image to your photoshop software.
- Directly click on the “adjustments” option.
- Then, tap on the “hue or saturation” option.
- Select the existing color of the liquid from the dropdown box.
- Hue, saturation, and lightness sliders will appear.
- Use sliders to change, replace, or adjust the color of liquid until you are satisfied.
Tip: Saturation allows you to deepen the color. Whereas, lightness gives a color a slight sparkling soft look. You can explore and give your picture an outstanding liquid outlook.
Three Best Photoshop Software for Color Replacement and Grading
GIMP – Hue and Saturation Adjustment
Yes! You must have expected “Adobe photoshop” in the first place. However, adobe photoshop is not a “go-to” choice for first-time Photoshoppers and graphic designers because it is undoubtedly expensive. Yet, if you are buying it – it is entirely worth it because it consists of hundreds of amazing tools. GIMP, on the other hand, is an digitally unenclosed photoshop application. It allows you to perform general color replacement tasks such as hue and saturation adjustment. It holds a very appealing gradient map with customization capabilities.
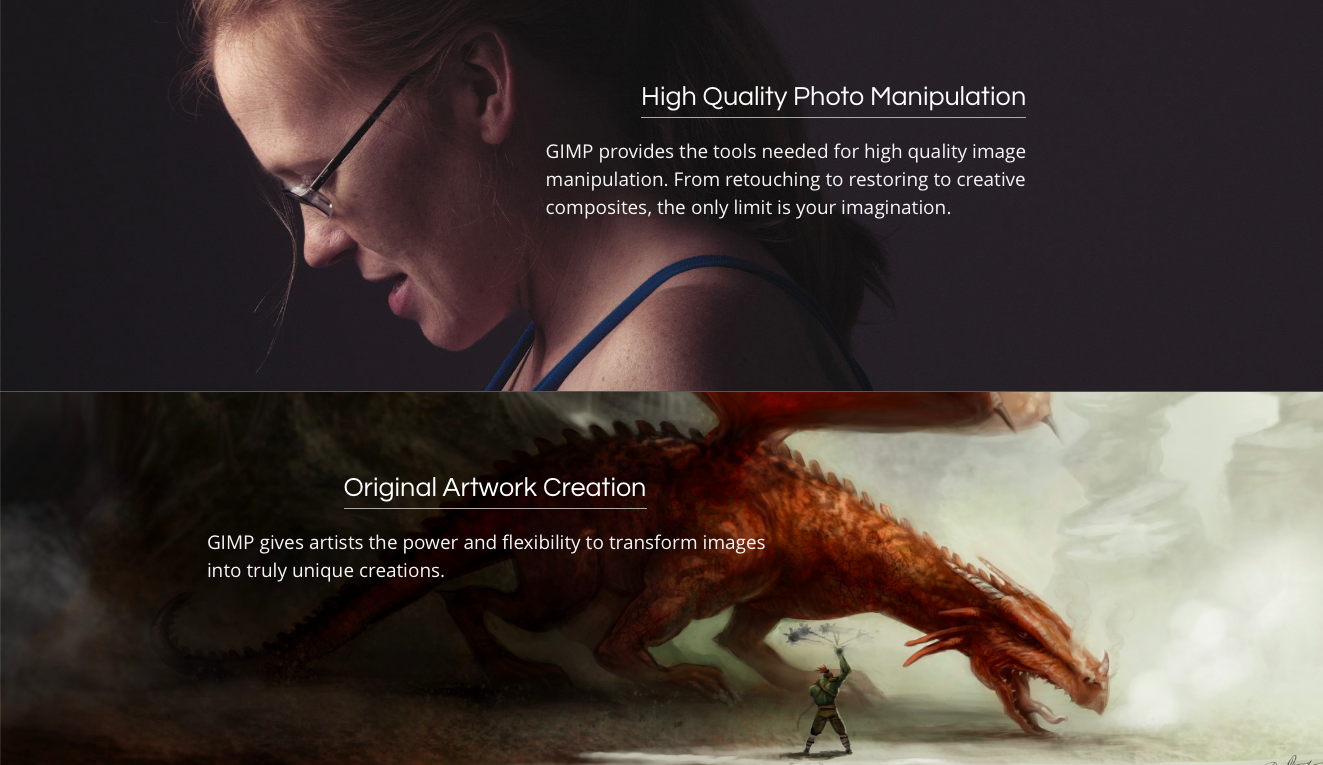
Using GIMP, you can deliver amazing curves to your existing image. And put it over your Instagram feed to attract the audience.
InPixio – Just begin!
Photoshop is not simply to drag and drop. A professional photoshop expert needs to learn about curves, vibrancy, layers, etc. to begin giving a brand-new look to any photo. But, in the event that you know nothing about professional photoshop – InPixio is the best software to go with.
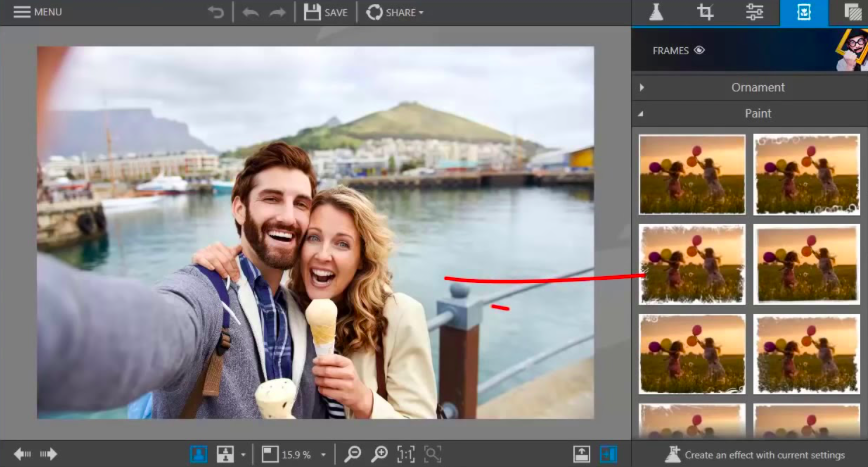
How to change color in photoshop guides becomes easier with InPixio. It automatically guides you. Apart from this, it also delivers high-end grading support with drag and drops feature. Above all, you can save the “before and after” look of a picture for your photoshop portfolio.
Photoshop Express – Edit on your browser
In the event that you don’t pine to download any software on your PC for any given reason. Photoshop Express is a win-win browsing photoshop application made for you. It holds a competitive level of responsiveness. You don’t need to get anxious about losing your final picture. If we count, it has all significant tools to change color in photoshop such as – blacks & whites, hue, saturation, contrast, lightness, highlights, shadows, exposure etc.
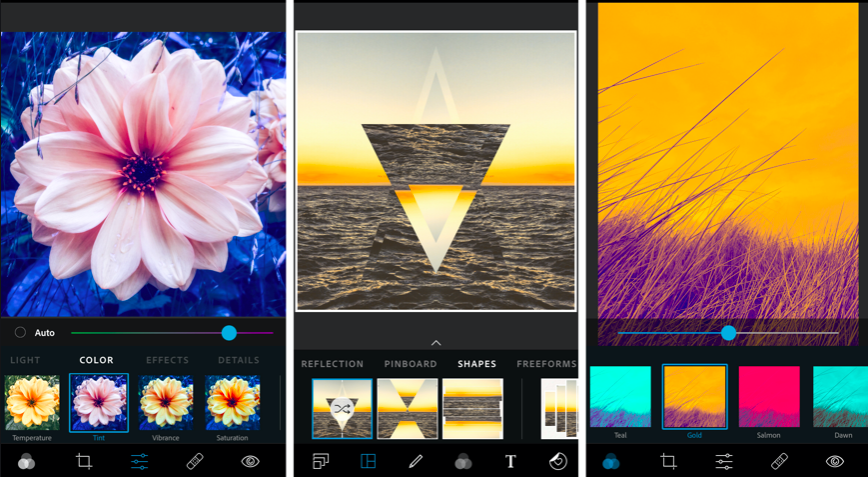
Thus, if you want to master the art of photoshop before investing in any high-end and expensive software, photoshop express is the one to go with.
Epilogue
So, get your hands dirty with all the coloring tools in photoshop? It can be messy but gives you the best of the best digital coloring experience. For additional queries, we are round-o-clock open in the comments section. Get in touch now!!


