
How to change background color in photoshop? Sparkling background or background filled with multiple clipart look amazing. They are trending vastly among Instagrammers.
A beautiful picture with a messy background can create an agitated situation for you. Even if you desire to put this picture on social media, the messy background can destroy its outlook. It gives rise to an awkward situation. Well! It is why in this modern era, photoshop is a good fortune. From clearing off or blurring backgrounds to changing the background’s color and opacity, it has every feature that you may need to recuperate the final outlook of your photo.
So, is there a specific way to change background color in photoshop? Or, can you try out different and innovative methods to do so? Well! It clearly depends on which photoshop application you are using. In this reading, we introduce you to the best apps to change the background color. Along with the best app name and pricing, you can also view a brief guide on how to change the background color using the respective app.
Are you thrilled to go ahead and learn a few new photoshop skills? Let’s get started:
Table of Contents
Four Ways for how to change background color in photoshop?
To begin with, Adobe Photoshop is one of the top-notch applications that remains supportive of all operating systems. Whether you are using Windows PC, MacBook, Android Smartphone, or iOS Phone/tablet, Adobe Ps will work for you. However, it is recommended to check the storage limit available on your device. In the case of less or no storage available, Adobe Photoshop may shut down in-between.
Method 1: Change background color using Adobe Photoshop on Windows PC
- Select “Adobe Photoshop” on your desktop and right-click.
- Tap on the “Open” option.
- Open the “File” Menu at the upper part of the screen.
- Tap on the “New” option or use the shortcut key: CTRL+N.
- Now, to create a new file with desired background color: a dialogue box will appear.
- Further, Give your file a [name].
- Change width, height, resolution if you want.
- Next to color mode, can you see background content?
- If yes, you can see the background color had automatically set to white.
- Moreover, Change the color “white” to any color you like.
- If you pick “transparent,” the image will not have any background.
- At last, Click on the “OK” button to save the background color.
Note: In the above case, a new file has been created. Thus, you can review the following steps if you want to change an existing photo’s background color.
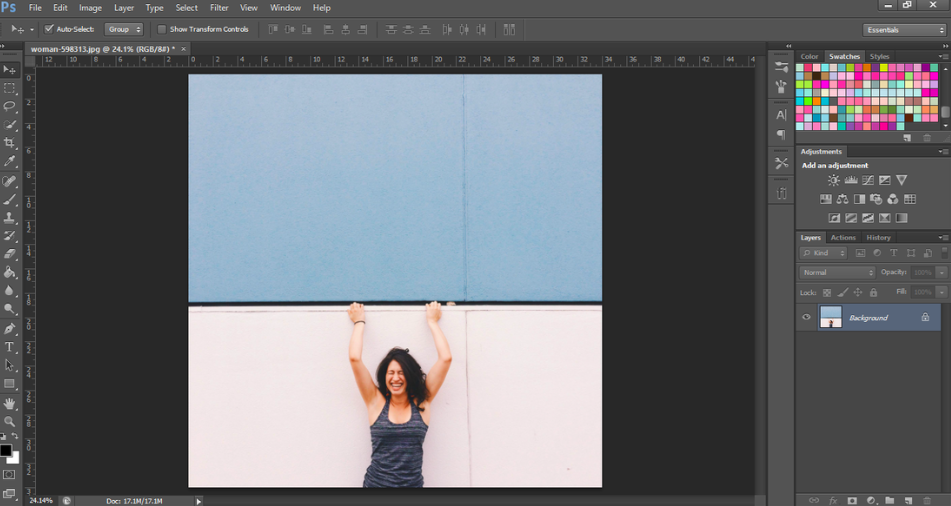
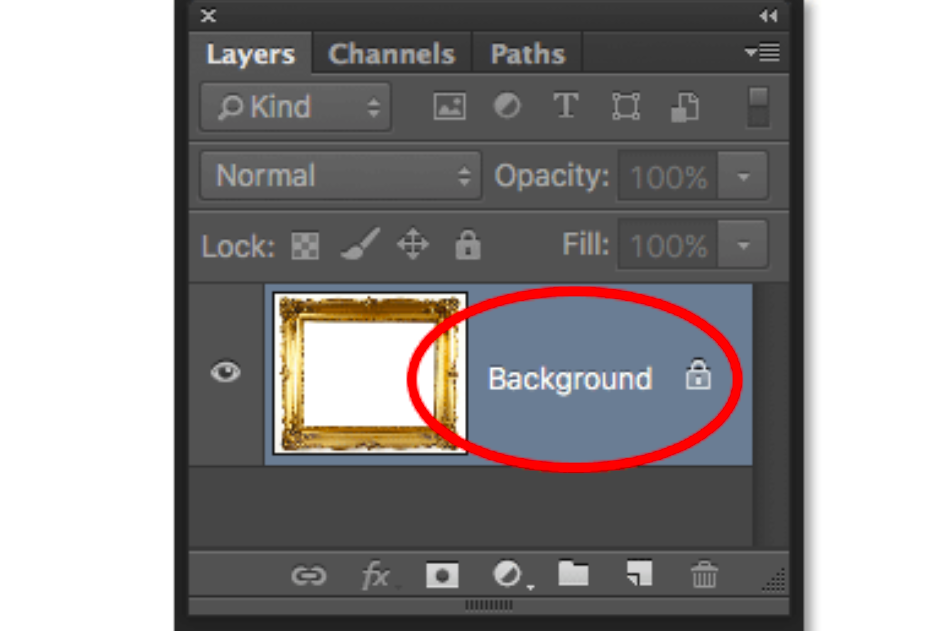
Method 1.2: Change background color using the background layer in Adobe Photoshop
- First of all, open Adobe Photoshop.
- Use CTRL+O to open an existing photo in the app.
- You can also go to the “file” menu and click on the “Open” option.
- Now when the image has opened in Adobe Ps.
- Click on the “Window” in the menu bar.
- Go to the “Layers” option. Or, use the F7 shortcut key.
- Again, click on the “Layer” option in the menu bar.
- Then, pick the “New Fill Layer” option.
- Tap on the “Solid Color” option in the “new fill layer” menu.
- A new dialogue box will appear on the screen.
- Can you see the color option that says “None?”
- Change “None” to the color you want in the background.
- Click on the “OK” button.
- Now, you will be asked to pick a “solid color” for the background.
- Use a scrollbar to pick a mixed color.
- Then, tap on the “OK” option.
- Now, at the right side of the display.
- Tap and hold on to the “new layer.”
- Now, drag the new layer at the top of the layer’s list.
- Click on the “new layer.”
- Is the background color still unchanged?
- Once again, go to the “layer” option in the menu bar.
- Tap on the “Merge down” option.
- Or use CTRL+E as a shortcut key.
- At last, Enter.
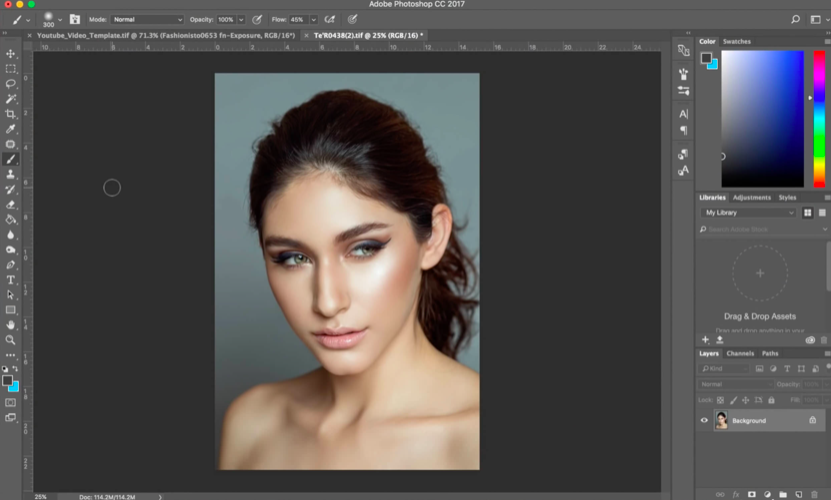
Method 2: Change Background Color using Foreground workspace
Use the following brief to change background color in Adobe Photoshop workspace. It is one of the most applied methods due to its short and quick steps.
- First of all, open Adobe Photoshop.
- Use CTRL+O to open an existing photo in the app.
- You can also go to the “file” menu and click on the “Open” option.
- In the left-side menu, tap on the “microscope search icon.”
- Or, right-click on windows. For Macbook, use a control-click on the workspace.
- The foreground color or color picker dialogue box will appear on the screen.
- Set up a color of your choice.
- Tap on the “OK” button.
- At last, The image’s background color will change.
Method 3: How to change background color in the Snapseed photoshop app for Smartphones?
Snapseed is one of the most prominent photoshop mobile applications. It allows users to features like background color change, square fit, etc., for free. Snapseed makes it very effortless to change background color in photoshop from white to any other color of your choice. It works in Android. Here’s how:
- Go to the snapseed mobile app.
- Open the image in snapseed that you want to change the background color of.
- Go to the “tools” alternative at the bottom.
- Click on the “tune image” option.
- Tap on the slider clip.
- It will allow you to select a new color.
- Do you see a tick icon?
- Click on it.
- Go to the “tool” menu once again.
- Tap on the “Details.”
- Then, use the slider icon and keep adjusting the sharpening level and structure.
- When you use the slider to make the image as black as possible.
- Go to the tool section once more.
- Click on the “Curves” option.
- Use the movable curves to cut out the main object in the image.
- Again, go to the Tools option.
- Click on the “Expand or Expand tool” alternative.
- Finally, expand the image to fit the background ideally.
- At last, tap on the “tick icon” to conclude the procedure.

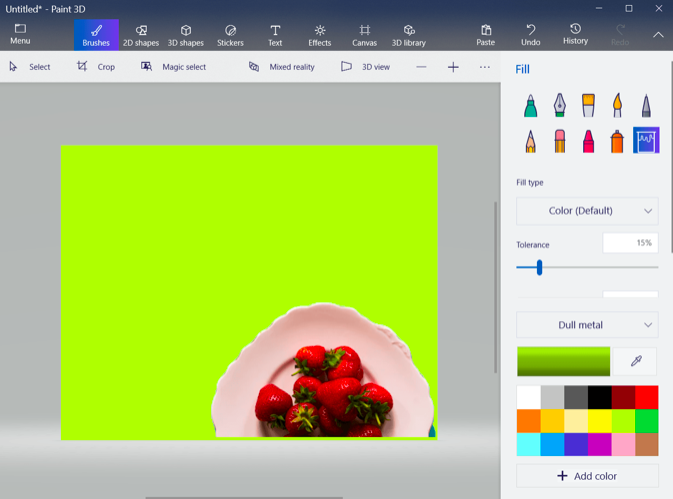
Method 4: How to change the background color using Paint 3D?
If you are coming from the 90s, you must remember MS Paint. Yes! That’s where we began to learn how to draw on the computer. Even if the MS Paint of that time will not be considered competitive in today’s era, its upgraded version – Paint 3D can be your all-in-one solution. Built-in Paint 3D in Windows 10 can help you change any picture’s background color without requiring you to install or purchase photoshop apps or features.
- First of all, launch the program if you are using it for the first time.
- Go to the main “Menu,” option is given at the top left corner.
- Click on the “Open.” Then, choose “Browse Files.”
- Further, Pick or select the image that you want to change the background color of.
- Now, click on the “Magic Select” option to begin the real-time process.
- A box will appear around the image. You can use this box and navigate to the main object of the image.
- In case Paint 3D has automatically detected the object in the image, you are good to go further.
- You can also modify the image if the automatic magic selection has left something out of the mains.
- Click on the “Done” button.
- In this way, the main object in the image separates from the background.
However, it only takes you halfway. After you separate the image from its background, two easy methods can change the background color. Let’s take a glance:
Method 4.1: Change background using stickers
- After this, you will be able to view different options in the right-side menu.
- Click on the “Make Sticker” option.
- Now go to the menu icon and tap on the “new” option.
- Here, save the former image.
- Moving on! A blank canvas image will appear on the screen.
- Now, go to the “Stickers” option once again given at the top menu bar.
- Further, Do you see a panel?
- Click on the “third one.”
- Now, you will be able to view the “main object” from the previous image as a sticker.
- Then, Click on it.
- Further, The image will appear over the white canvas background.
- Now, if you don’t want the white background, you can change it.
- To do so, go to the “Brushes” option.
- Then, select the “Fill” tool.
- You will be able to see different colors.
- Pick a color, click on it.
- The background will be good and new.
Method 4.2: Replace the background
To begin with, this method is quite reliable when it comes to changing a standard background to a fancy one. Apart from this, replacing a background is effortless as compared to other methods. Here’s how to do it:
- In order to replace the background, follow-up the Method 4’s guide.
- It will allow you to separate objects in the picture from the background.
- Once you do so, go to the “File” menu.
- Moreover, Click on the “open.”
- Here, open an image that you want as a background.
- Now, copy-paste the cut-out version of the image over the new image.
- Furthermore, Adjust accordingly.
- At last, save the final image when you are done.
Epilogue
So, are you ready to explore the world of photoshop? It is quite thrilling. For 100% proven photoshop tricks, bookmark us. Good luck!


