If you’re looking for a way to change up the look of your fleet or emergency vehicles on a budget, consider installing your own vinyl graphics. It’s a relatively easy process, and you can find plenty of resources online to help you get started. By doing it yourself, you can save money and have more control over the finished product. Just make sure to plan ahead and allow enough time for installation!
Table of Contents
Choosing The Right Graphics For Your Fleet
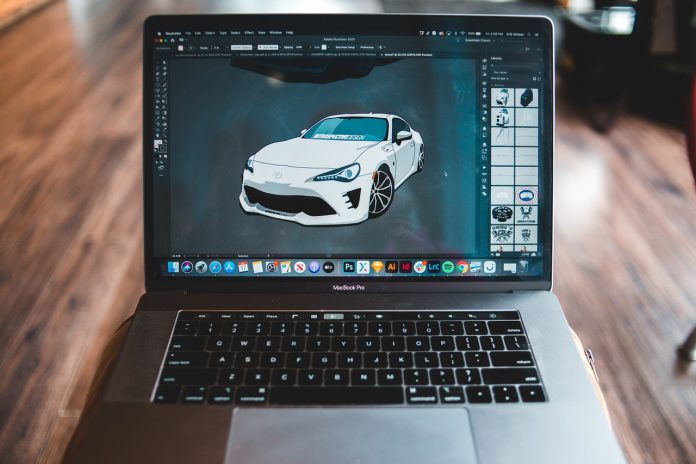
When it comes to vehicle graphic design, the sky is the limit. You can go for a sleek and simple look, or you can go all out with a colorful and eye-catching design. The best way to get started is by taking a picture of the vehicle and sketching out what you want the final result to be. If you can find an off-the-shelf design, so much the better. There’s a rich palette of vinyl films to choose from, including metallics and moiré. With a little creativity, you can create a custom look that is right for your vehicles quite easily. If you need assistance creating your design check out Graphic Designs International, they have over 25 years of experience working with emergency departments across the US.
Preparing for Installation
If you’re planning to add vinyl graphics to your vehicle, there are a few things you need to keep in mind. First, make sure the vehicle’s paint is in good condition. If there’s any rust, it needs to be removed before applying the vinyl graphics. Second, it’s best to install the graphics indoors when possible. Even a slight breeze can tangle the tape and ruin some of the graphics. Third, the air temperature needs to be between 55 and 80 degrees Fahrenheit. And fourth, the vehicle should be in the shade so the wetting agent doesn’t evaporate too fast. You will need to add a wetting agent, so either buy one on the market or mix two drops of dish soap with half a cup of rubbing alcohol and fill up quart size bottle. By following these tips, you’ll ensure that your vehicle graphic design turns out just the way you want it.
- Step 1
Trial-fit your graphics to the vehicle for accurate measurements. Make sure that you are happy with how they look before permanently mounting them on there, so take some time and check out any potential issues! Then mark where each of these goes using tape or grease pencils as necessary (don’t forget about their orientation either).
- Step 2
When removing the wax from the vehicle, be sure to wear gloves and work in a well-ventilated area. Use mineral spirits or alcohol on handprints for safe removal!
- Step 3
Make sure you thoroughly douse the surface with a wetting agent so that it is easy for us to reposition your film if necessary!
- Step 4
Carefully peel away the backing film to reveal your new vinyl. Make sure you remove all of it so there are no leftovers on top or bottom!
- Step 5
Line up the graphic so it’s in perfect alignment with your design. If you’ve kept a wet surface, then this should be easy for you because all that needs to happen now is moving any little bit and re-hitting their marks!
- Step 6
When you’ve squeegeed thoroughly, slowly peel away the transfer film from your vehicle.
- Step 7
Use a razor blade to trim around any obstructions and across the seams at doors, and fenders.
- Step 8
When water bubbles form, you can remove them by puncturing the bubble and squeegeeing out all of that pesky trapped moisture through a small hole.
Don’t know how to install your own vinyl vehicle graphics? No problem! As you can see, it’s not too difficult with a little preparation and the right tools. If you want help installing security vehicle graphics on your fleet of cars or trucks, give us a call today and we’ll be happy to lend our expertise in this area. Our team is available to answer any questions you may have about the process and can provide a quote for services. Give us a call today!


